Today I’m going to write about how we make sublimation t-shirts. It’s been and up and down process but now we’ve got the hang of it, its a lot of fun!
First we start with our t-shirt. I use dyesublimationsupplies for ours and it’s always been very reliable. The t-shirts come in a wide range of sizes and they’re a really nice soft fabric. I also love that they use 100% compostable packaging so that the customer can just pop it in the compost when they’re done and it’ll break down naturally. If you’ve been following my posts for a while you’ll know that the environment is very important to me. If you buy something at my stall, you may notice its in a bag from a different store! I’d rather reuse existing plastic bags then purchase more new ones which would go to landfill or end up in our oceans. This time, we’re sublimating a child’s t-shirt as an order for a client.

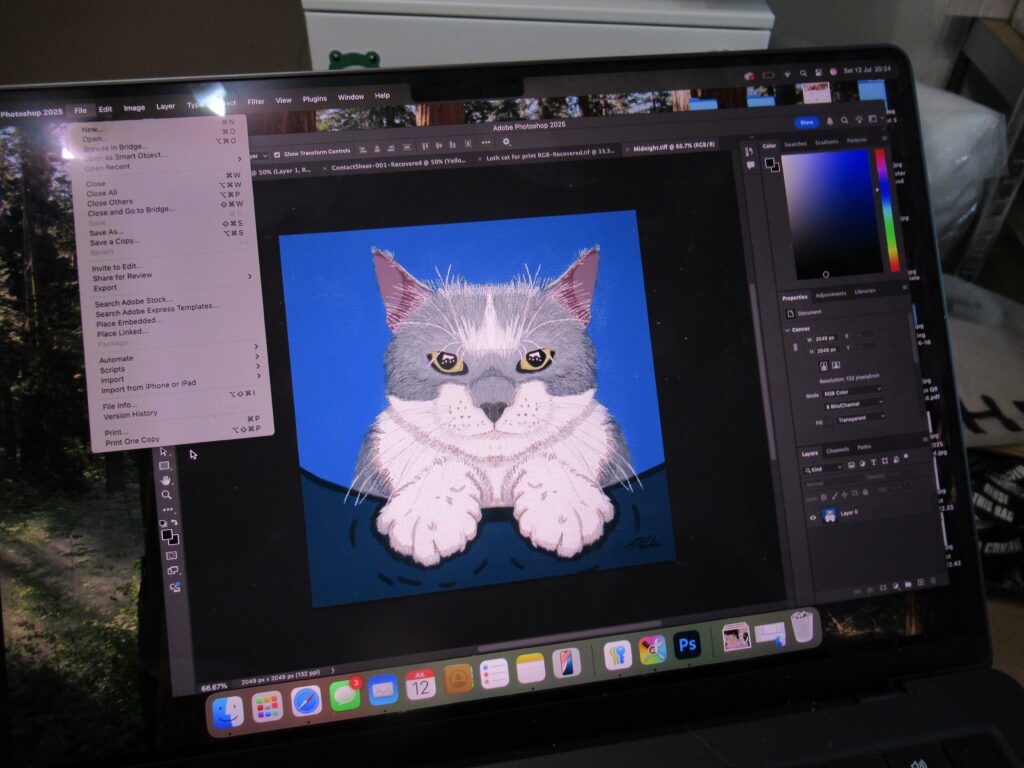
The next thing we do is get the image up on the computer. For this project I’m using my Midnight image. Michael opens photoshop and prints it. He does it through photoshop so he can get the colour profiles right. Colour profiles vary wildly per computer and printer so it can be a bit of an experiment to get them right. We mirror the image, otherwise when we sublimate it will be backwards! We print it on our eco tank printer which is running with sublimation inks.
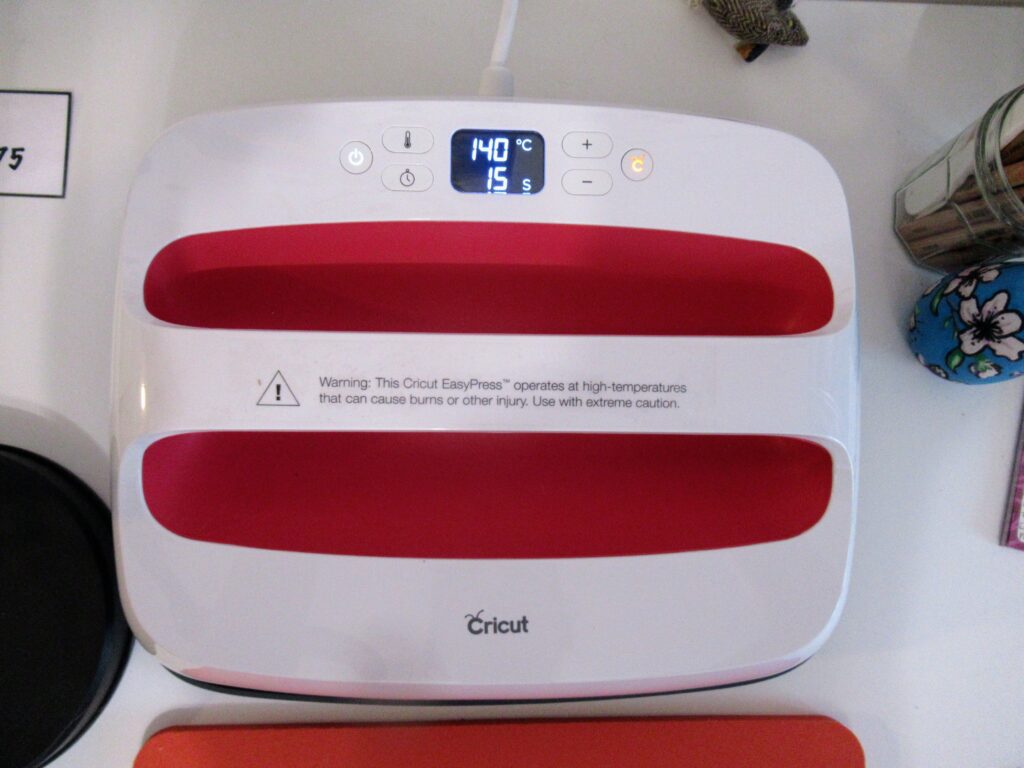
Then I heat up the circuit easypress 2 to 195C. We used to make t-shirts in the clamshell press but it was tricky to get them flat and would often end up with creases in our image which wasn’t ideal! We’ve found the EasyPress 2 a lot simpler to use and much more reliable. We place a bit of card inside, to protect the other side against ink bleed. Then I give the t-shirt a 15 second preheat to iron out any wrinkles and provide us with a nice flat image for sublimation.
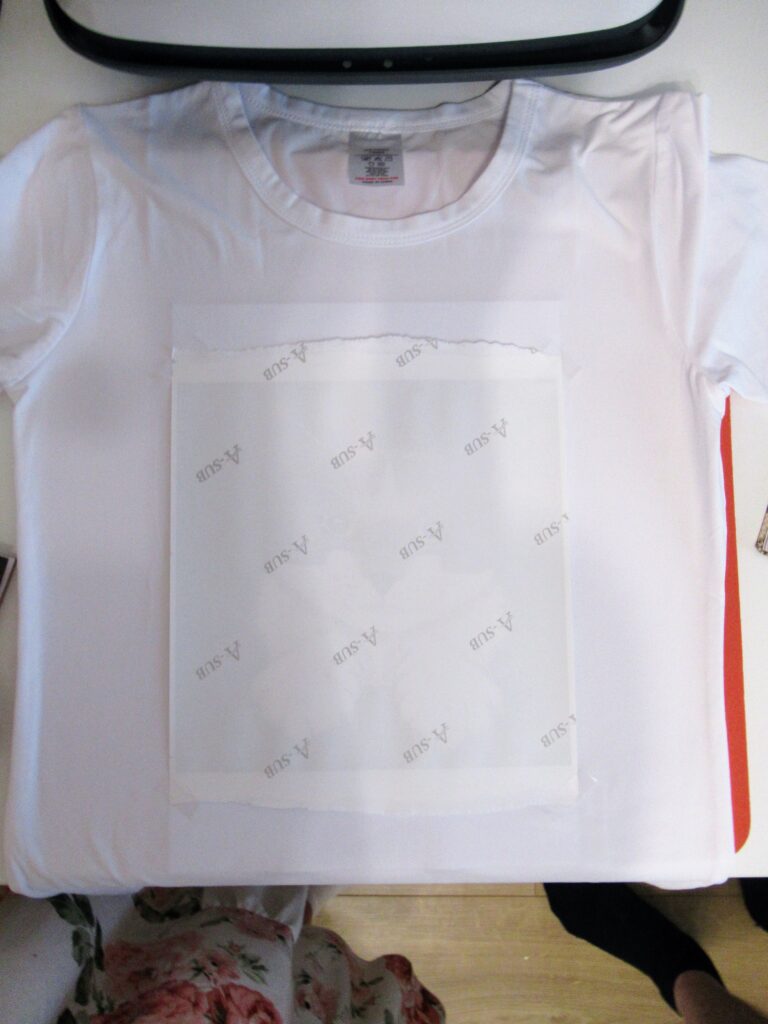
Next we place our image face down on top of our t-shirt. I tear the edges which stops there from being such a harsh imprint line from the paper from when its pressed. We secure the edges with clear heat resistant tape. Then we press it for 40 seconds, leaning on it with slight pressure.
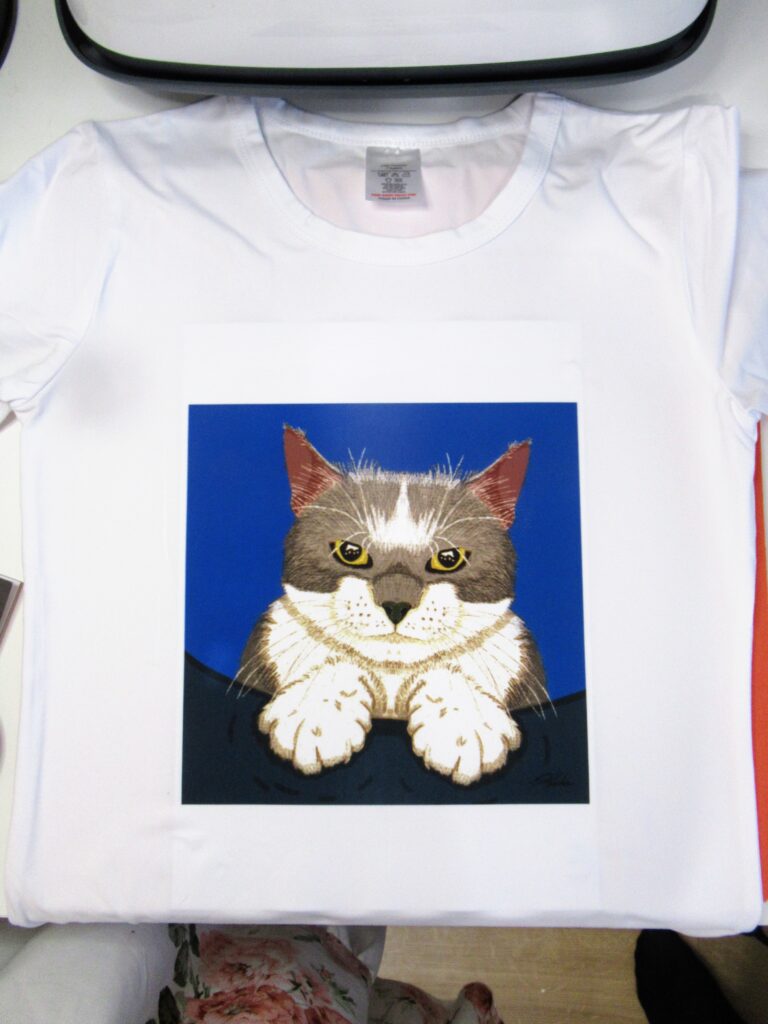
Now is the most exciting part – the reveal time! We gently take the press off and peel back the paper. If its not sublimated correctly you can try and carefully stick it back down and press again. In my experience that’s always led to the image shifting. Thankfully, this time its perfect! I’m really happy with the result.
Then we package it up and its ready for the client!
I hope you find this helpful, and it may inspire you to start making your own t-shirts. If you enjoyed this please do support us by subscribing our newsletter or treating yourself to a goodie in our shop. I design all of the images, and most of our products are made in house by us. Literally in our house.