I’ve worked with children for many years and always love to encourage them to draw. I was inspired to do this piece by a doodle one of the kids came up with in these sessions. It was so cute that I thought it needs to be made into a finished piece!
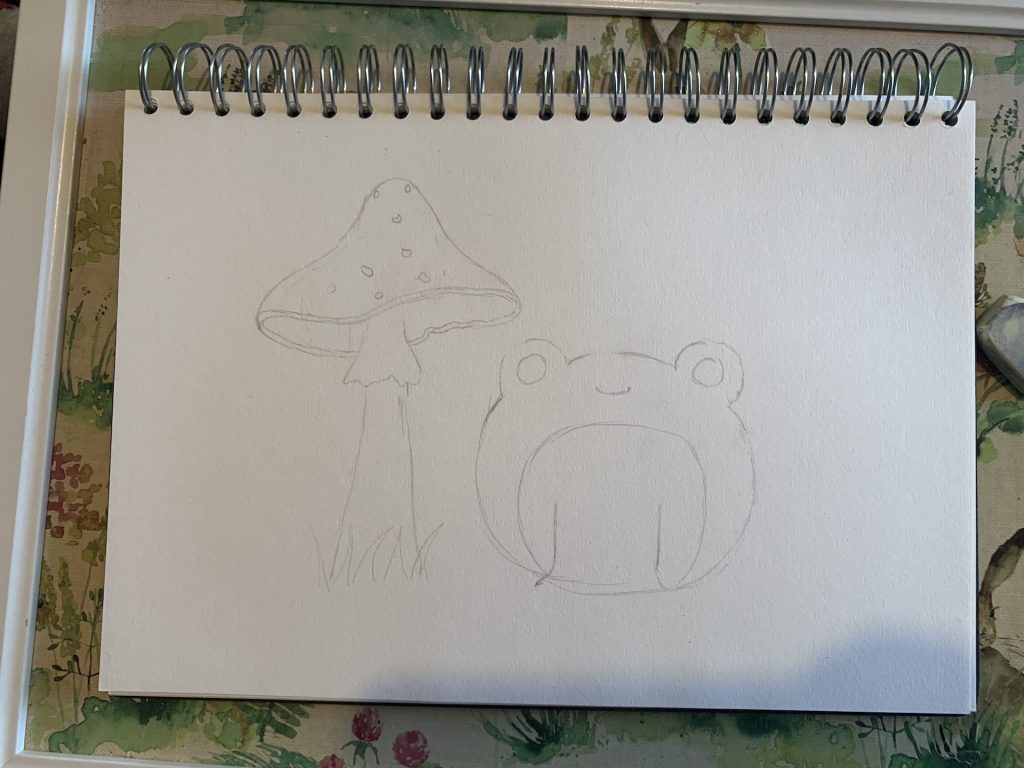
I started out drawing out my design inspired by the doodle. I decided to make the toadstool larger so the frog could sit beneath it and rounded out the frog to make him a bit more cute and chonky! Then I traced the design onto tracing paper ready to become my cut outs.
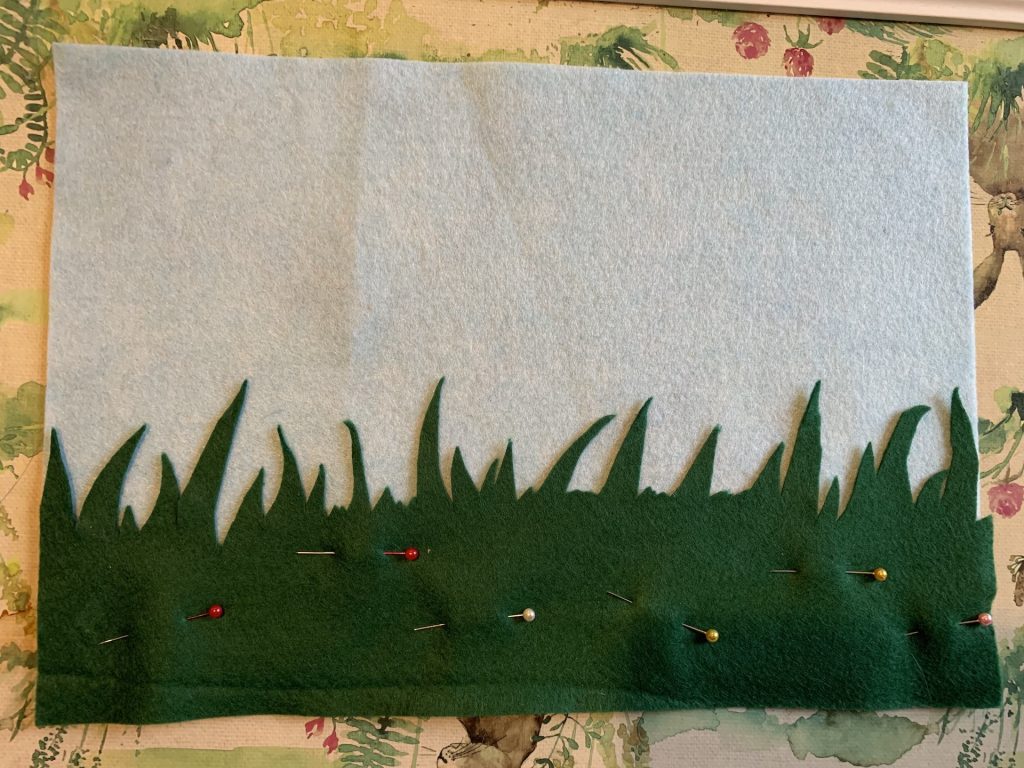
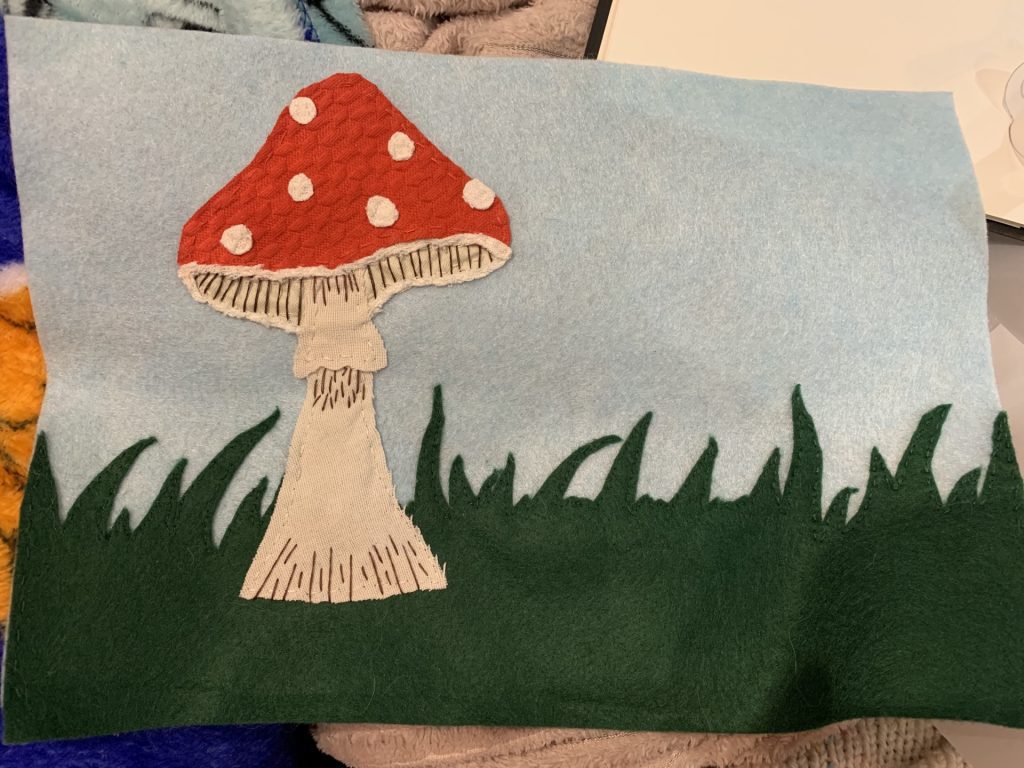
I started out with a baby blue felt piece for my sky and dark green for my background grass. For appliqué I like to start with a thick background for support as they can end up with quite a few layers and these were the thickest materials I had. I cut around the design on my tracing paper onto the green felt and pinned it to my blue sky. Then I began to stitch it by hand using a running stitch. It’d be a lot quicker to use a sewing machine, but I don’t currently own one plus I’m a bit traumatised from school where the teacher kept shouting at me when the foot came off. Sewing machines were not my friend! Also I find sewing by hand can be quite relaxing. However the thread became knotted quite a few times which was frustrating. I rectified this by trying a double rather than a single stitch which helped a lot. It also made the stitch bolder which I like as it’s going to work as my ‘outline’. However it was trickier to get a neater switch so I had to pay a bit more attention.
After the grass I moved onto the mushroom. I sewed the stalk and the underbelly of the mushroom on using old fabric and sewed some wrinkle details on using brown thread.
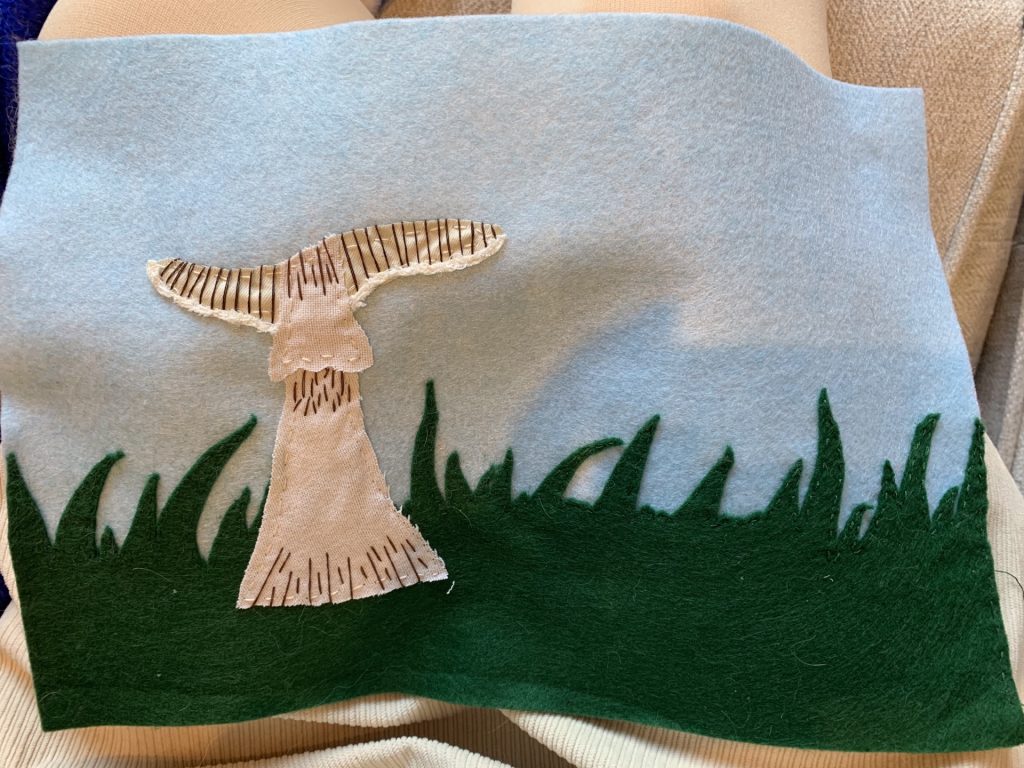
One of my favourite things about appliqué (I always called it fabric collage, it’s only recently I discovered it had a proper ‘arty’ name) is that it allows you to use old fabric which would have otherwise been discarded. For the mushroom stalk I used an old bedsheet which had lots of holes in it. It was too far gone to donate to a charity shop so in my appliqué bag it went! Holy socks often go in there too but are only really useful for small details.
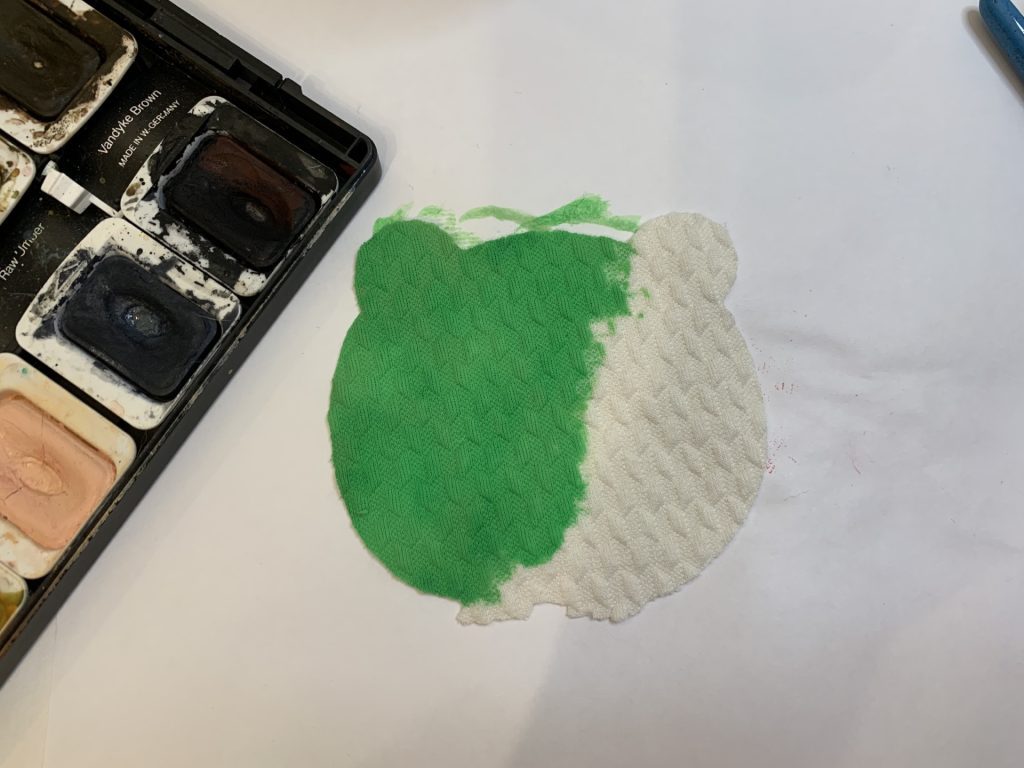
For the toadstool top I cut out a piece of white fabric and experimented with using watercolour to dye it red. I quite like the effect! It needed two coats in the end. It went kind of hard which was a bit strange, I’m not sure if that was from the paint or me using the heat gun to dry it the second time. Then I sewed the toadstool lining and spots on.
When the mushroom was finished it was time to move onto the cute little froggle! Again I cut out the shape in white and painted him green. I’d hoped that I’d have the patience to let him dry naturally. Alas it was not so.
I had to do three coats of paint on the frog for some reason and had to use the heat gun. He was still a little patchy but it was quite nice in a way. He was a bit darker than intended but it was the lightest paint I had! I wonder if watered down acrylic would work better next time. Dedicated fabric paint would have worked nicely but I wanted to use materials I had in my craft stash rather than buying new ones.
I sewed him on and his little eyes. I wasn’t sure what choice to go for on the belly as when I researched, it seemed to range between a whitish colour, a lighter green or a pale yellow. I decided to go for white in the end. I added highlights to his eyes and a smile which made me smile when I saw it – he’s so cute!
Then I cut his arms out. Again a dilemma, some frogs legs match their belly colour and other their main colour. Main colour seemed to be the norm so I went with that. I was worried it would look a little strange just on the belly so I did some research to see what curves I could make to try and make it look a little more natural.
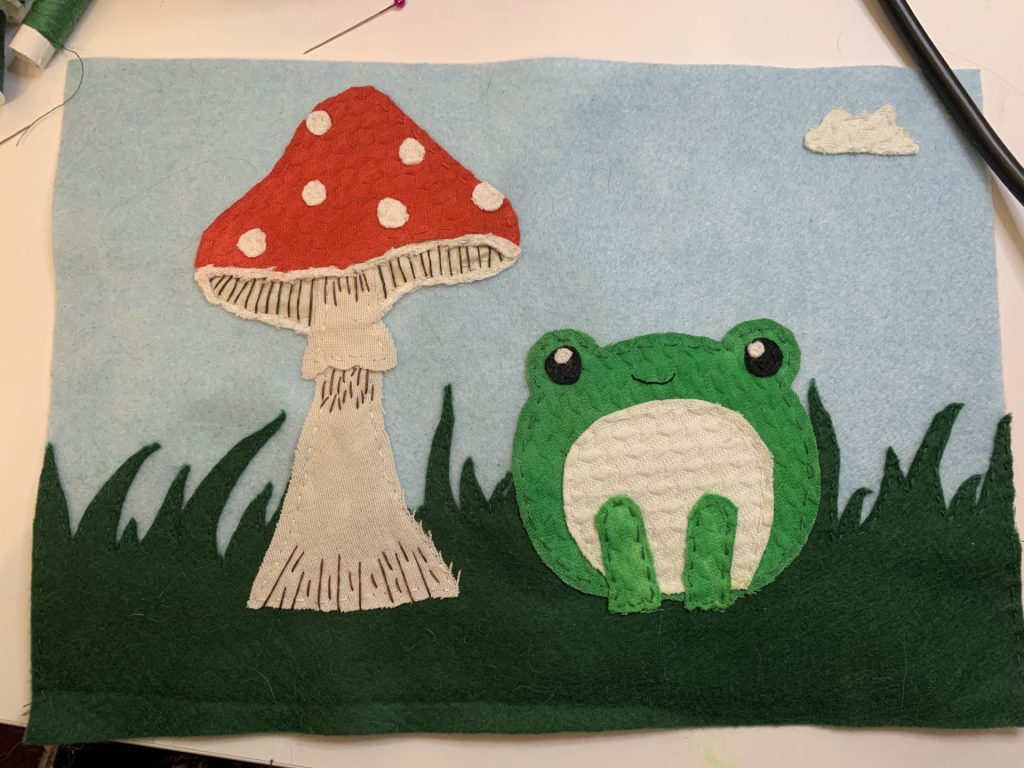
In the end I managed a curve I was happy with. It was so close to finished!! Then I just needed to add some patches of grass in front of the mushroom. I wasn’t sure about in front of the frog but I decided it worked better in the end.
I added some grass blades and then decided to be adventurous and sew my signature on! I did this by signing a piece of tracking paper and sewing over the lines. I hoped that when it was done I’d be able to wedge it out.
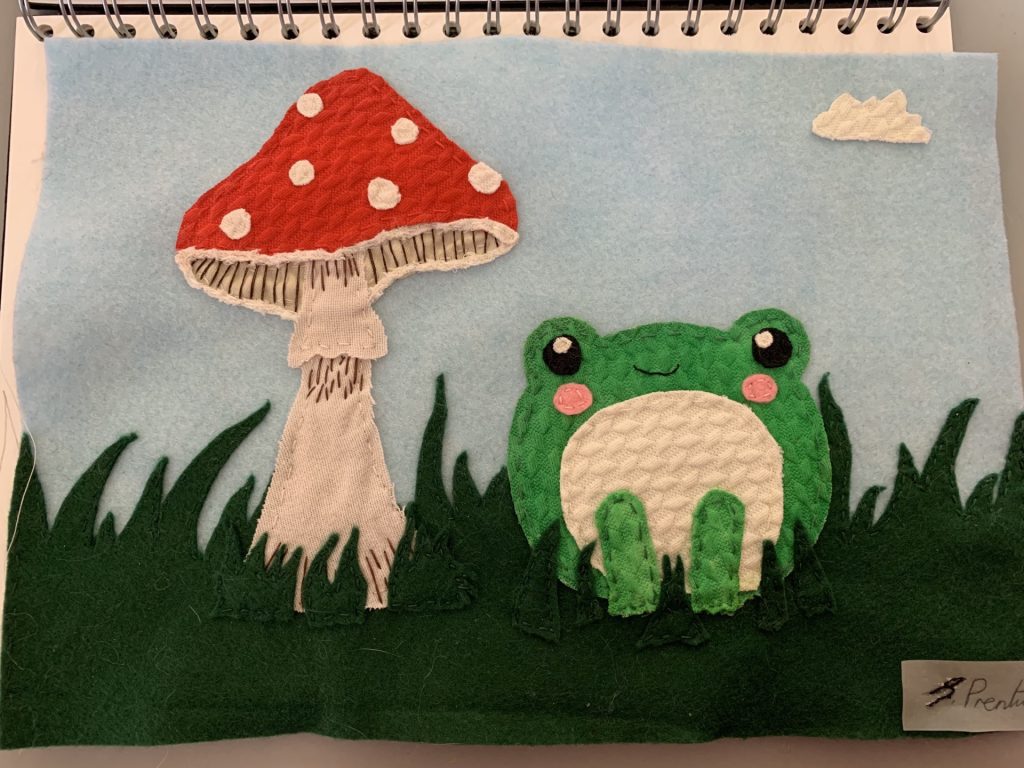
Sadly the tracing paper did not work! I tried to get it off and it took the stitching with it so I went with hand sewing my signature in the end. I also added some little blushes which I think really brings out his cuteness.
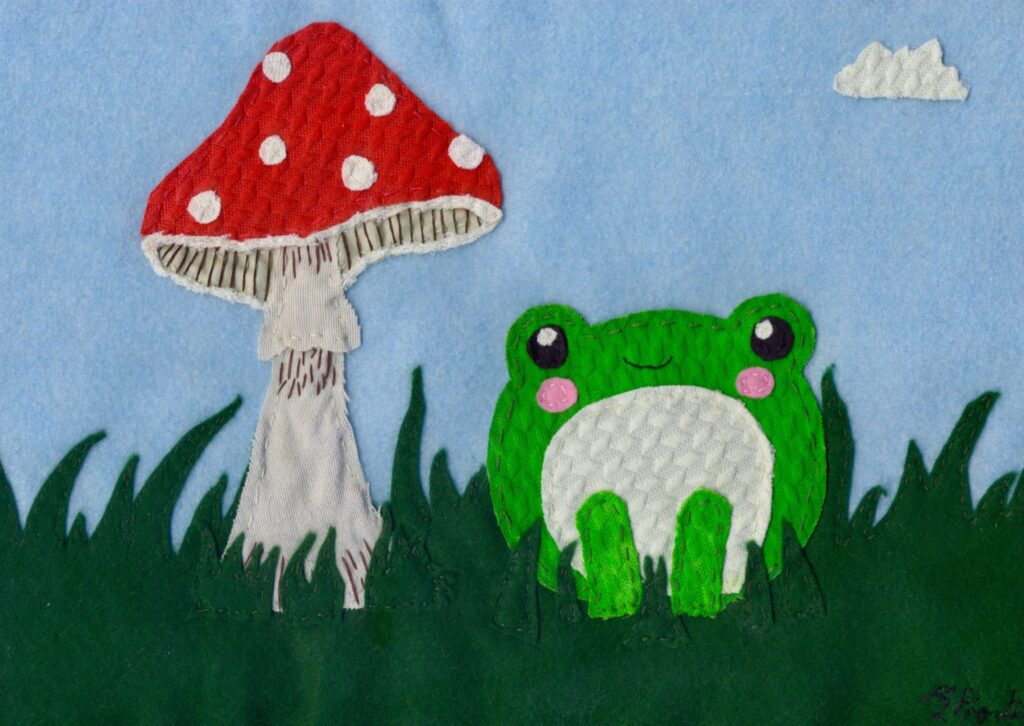
Here he is finished!!