Inspiration
I was on holiday with my dad browsing the Toys and Games store in Keswick where I stumbled across this sequin art piece which I thought looked really cool! Inspired I thought I’d try my own.

Researching I found that the kit used sequins (obviously 😂), sequin pins, a polystyrene frame and a piece of velvet. I found a black foam block as an alternative to the polystyrene and velvet which worked really well. You can purchase these from Hobbycraft.
I like to use inspiration from the world around me for my projects and for me this was a buff tailed bumble bee. When I go on an adventure I always try to take a camera so I can photograph anything I find inspiring! This one I spotted last year on a holiday to Inverness in Scotland.
If you’re a nature nerd like I am, here are some facts on our little buzzy friends:
- They’re wogga! These bees really are buff as they’re the largest of all the bumblebees. However the buff name actually comes from the tail colour of their queen.
- They’re around from March to August and are always a sure sign of spring for me. I’m starting to see a lot of them round now.
- Their favourite flowers are the daisy types – they like a nice open flower to get to the nectar easily. This is because they have very short tongues in comparison to other bumblebees!
- These buff boys also have an unusual secret – they’re nectar robbers! If they can’t get into the flower, or it’s already being pollinated they’ll nip into the bottom of the base. and nab the pollen before the flower can even release more.
Design
I started off by making a sketch in my sketchbook. The bee was originally on a yellow flower but I chose a thistle to provide a greater contrast – its the national flower in Scotland!
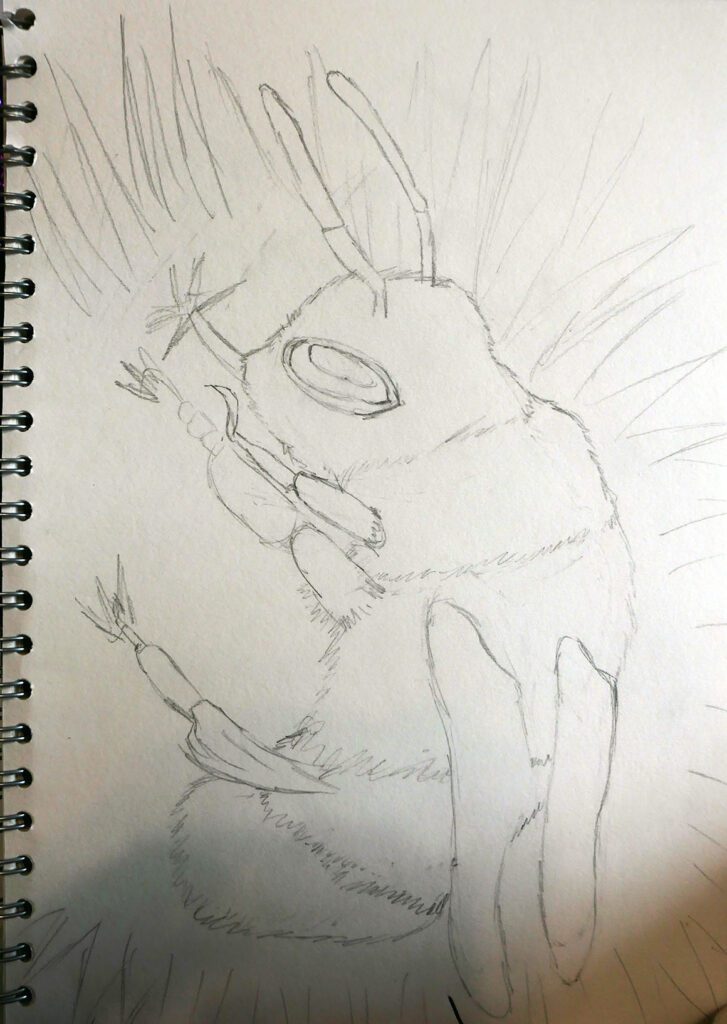
Once I had my sketch down I needed to transfer it to my foam block. I photocopied my sketch onto thin paper and used white transfer paper to transfer it onto the block. The lines came out very faintly so I decided to go over them with a white Posca pen to make them more visible and stop it from smudging.
After that I proceeded to start adding my sequins. I’ve chosen to do the thistle first as it means the sequins for my bee with overlap them. The process was actually really relaxing, although after a couple of hours I was starting to feel the pins with my thumb!
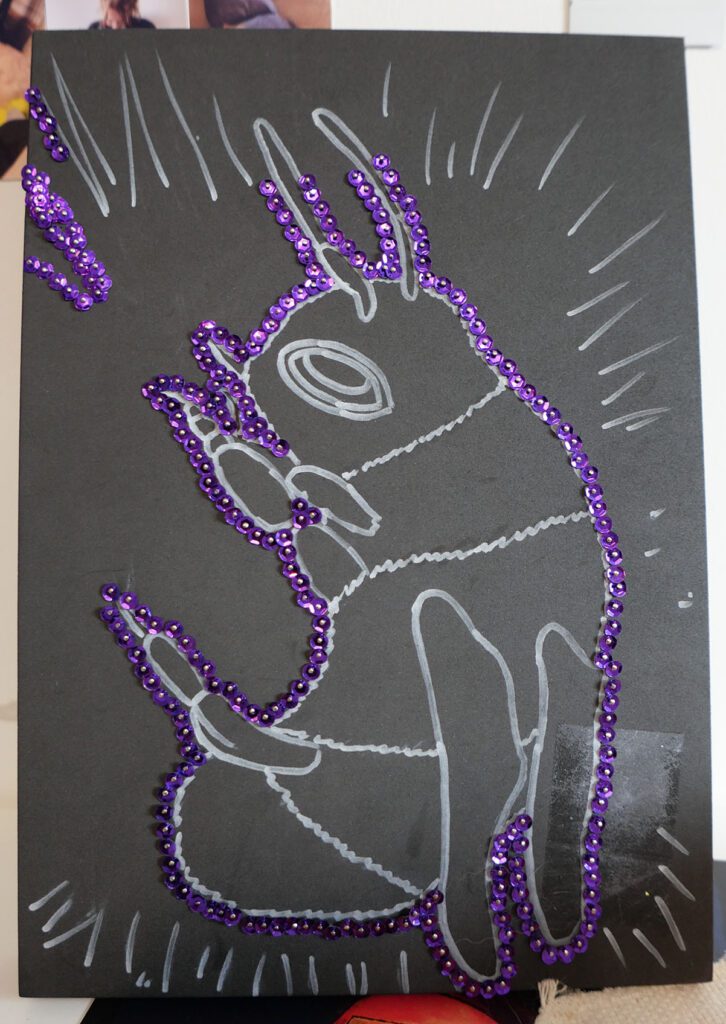
The next stage I worked on at my stall at Maidstone comic con. I learnt that I could use a small wooden hammer to tap the pins in. Both better for my fingers and extremely satisfying! It definitely attracted peoples attention as they walked past. I’ve learned that shiny things are popular. 😄
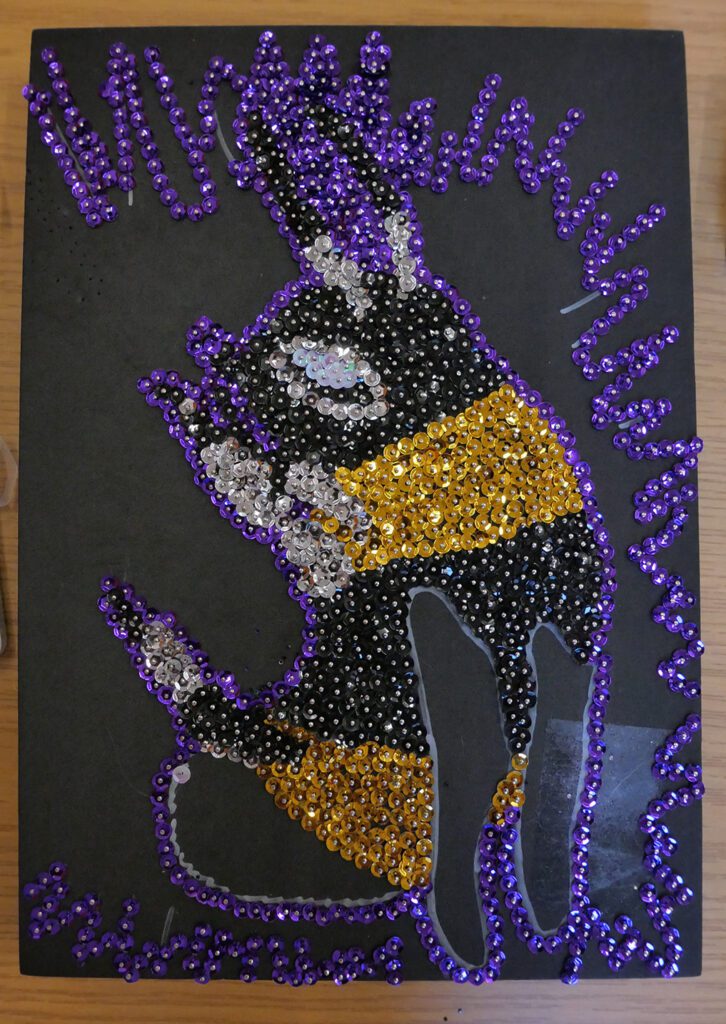
After outlining the bee in purple I can now start to fill in the other coloured sequins. I started with his antennae filling in first with black and then moving down to silver at the base to distinguish them from the head. I used a similar technique with the forearms and the eye, where I added a highlight in white. Now that I’ve started to add the gold it’s really starting to take shape as a bee. I’m not looking forward to filling in all that purple though!
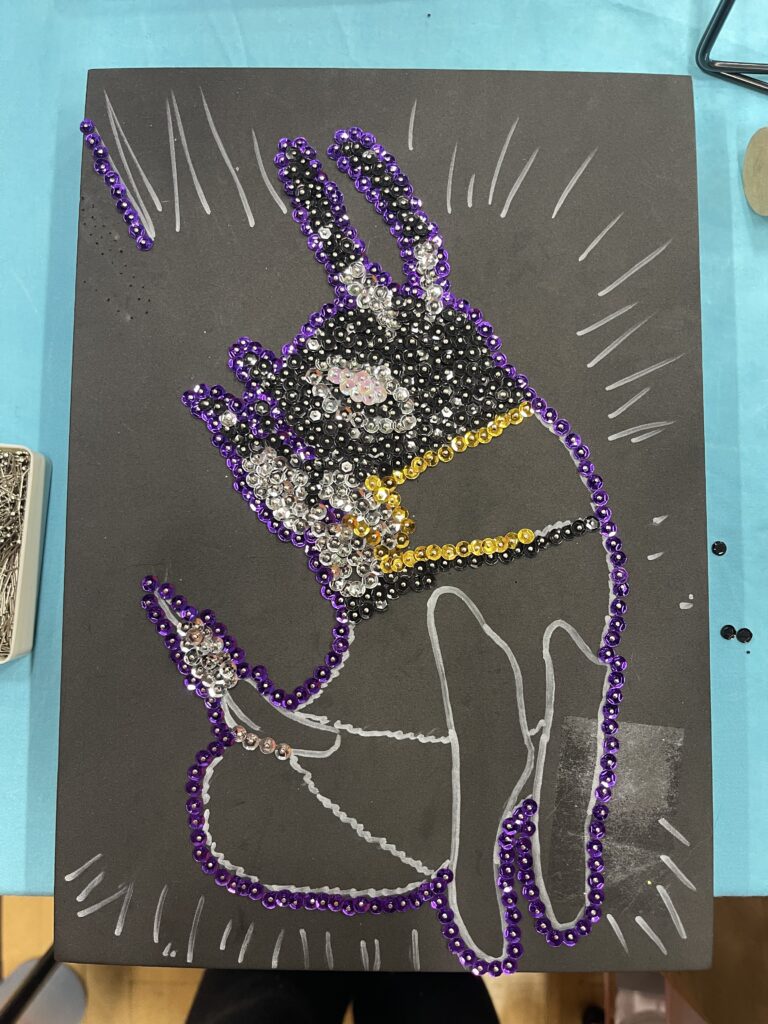
I decide to alternate the purple with some of the other colours to make it more interesting! Here I’ve started to make the outline of the thistle as well as filling in the gold band.
I fill in the rest of the thistles outline – there’s definitely going to be a lot of purple sequins needed for this! I’m already on my second box. I finish the next two bands and add in his bottom leg. Next I’ll move onto his buff tail!
This time I focus solely on the purple thistle background – I need to so I know if I need yet another pack of sequins for the purple! I’m going around the outline of the bee and working my way outwards. If I did another piece I think I wouldn’t do as large a sequin background and maybe use some fabric cut to shape instead. It’d also give a bit more of a layered effect and help the sequined subject to stand out.
I’d also work my way outwards from the start. By outlining the shapes first I’ve ended up needing to stack the sequins in some places to fit. I’m impressed – I thought I wouldn’t use the pack of 2900 sequin heads that I bought but I can see the bottom of the tin! They’re not the best quality, as they’re quite inconsistent. Some of the pin heads are fine and others are so tiny that the sequins fall off.
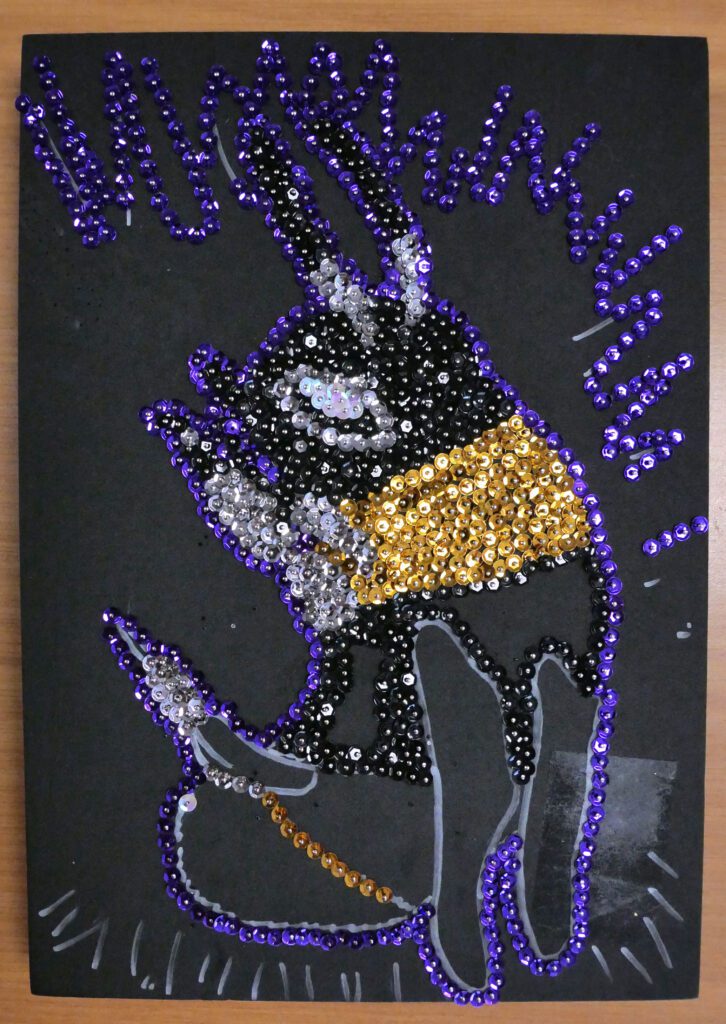
We’re nearly at the end now! I work on the buff tail of the bumblebee before moving onto the wings. For these I chose a translucent pale blue sequin to try and mimic the effect of a bee wing.
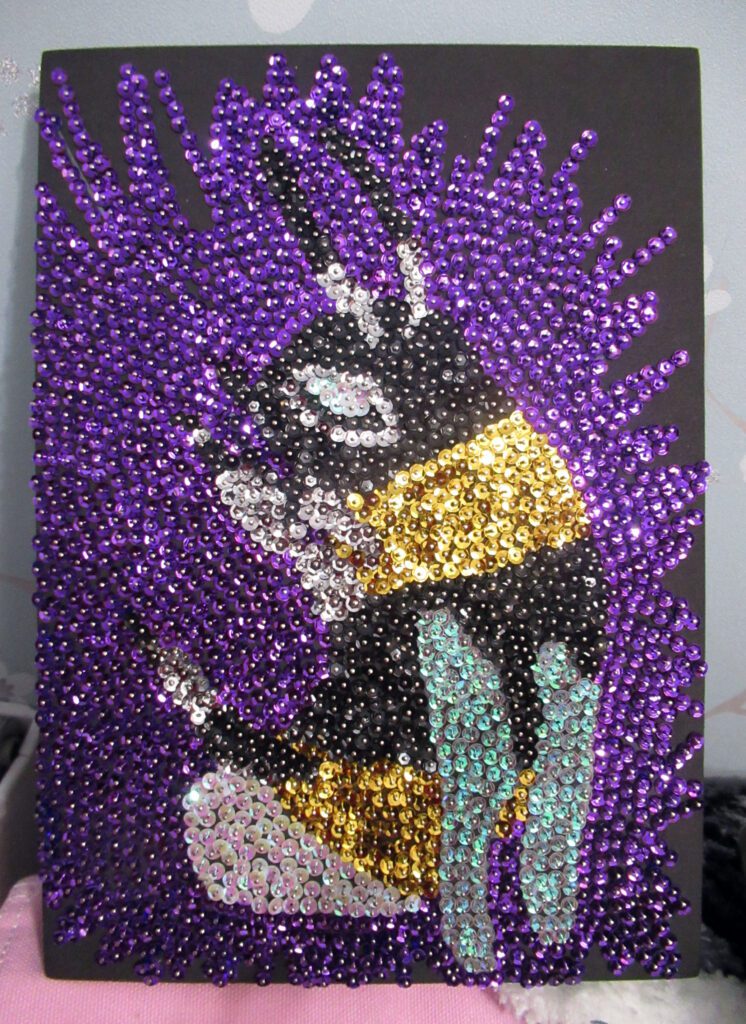
It’s done! The piece took a long time but it was so much fun to make and very cathartic.
Want to check out my bestselling designs from 2024? Check them out in the gallery. Or visit my shop and help to support us so we can keep creating!